Result Filters
Issue Filters allow you to narrow down the list of issues displayed under the Issues tab. By applying filters, you can quickly locate a specific issue or group of issues that match certain criteria.
For example, if you want to view only open issues related to the Spanish language, you can create a filter to display exactly that.
Creating a Filter
-
Go to the Filter option
Navigate to the Issues tab and select the Filter option.
-
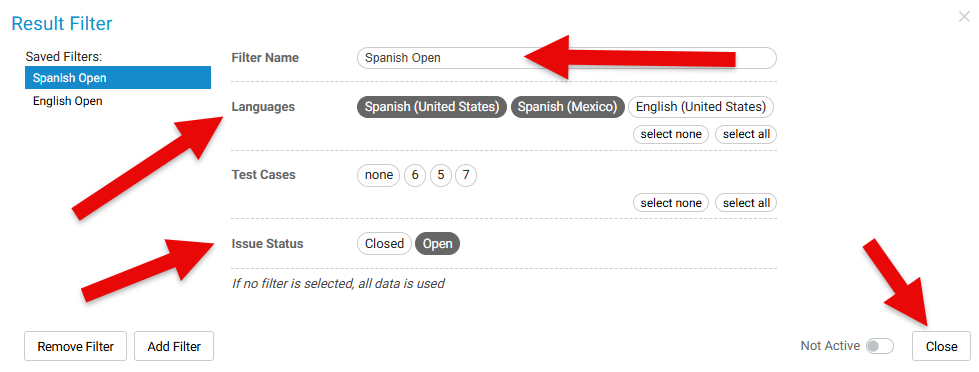
Enter filter details
Provide the following information:- Filter Name – A descriptive name for your filter.
LanguageCriteriaSelectCreate your filter criteria by selecting thelanguageLanguage,associatedMarkets,withIssuesthestatus,issue(s).Issue Status– Choose the status (e.g., Open, Closed).etc.- Close –
ConfirmConfirm, Activate and Close the filter to save.
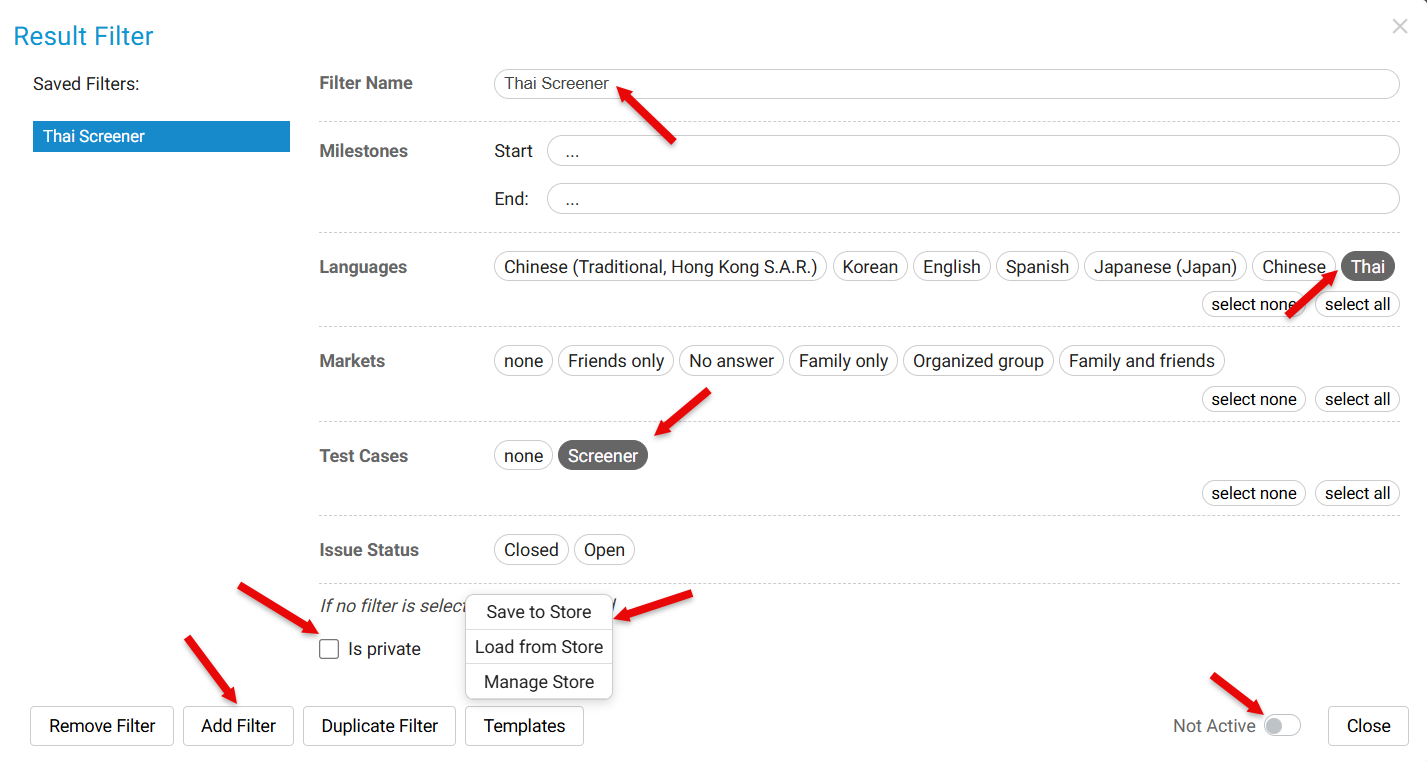
- You can make the filter as PRIVATE or can share with other team members.
- You can also save a filter as a template and Load it from a different project.

-
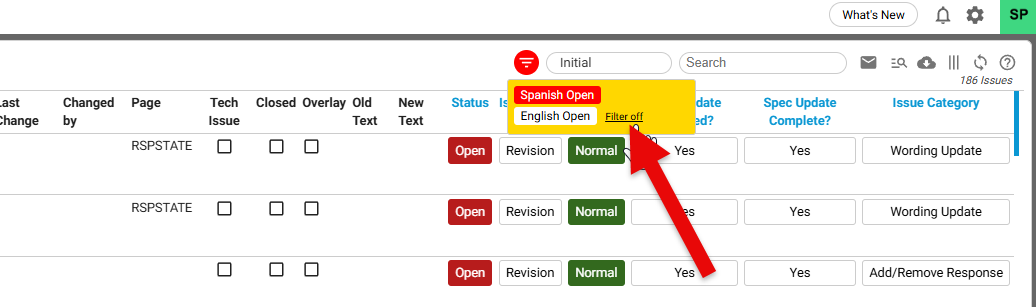
Activate the filter
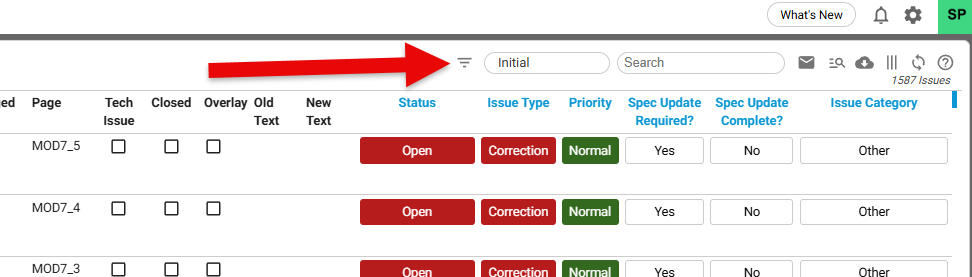
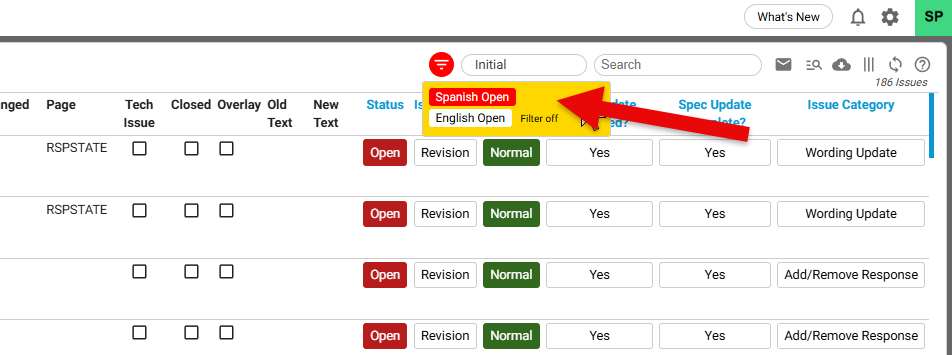
Hover your mouse over the Filter icon. A list of available filters will appear.
Select the desired filter from the list to apply it.
Managing Multiple Filters
- If more than one filter exists, you can toggle between filters or turn off a filter to adjust the displayed issues.
- Only the active filter will determine which issues are shown.

Filter criteria can be based on Markets, Test Cases, and Milestones. These fields appear in the Project Details section once settings are configured. They become available during survey testing, so testers can apply them dynamically.
Please note, filters are stored per user in the database. This means each user’s filter preferences are saved individually, ensuring personalized views and consistency across sessions.
- Each tester can tailor their view without affecting others.
- Project managers can ensure that filters align with project milestones and test case coverage.
- Since filters are tied to users, troubleshooting or auditing is easier because you know exactly which criteria were applied by whom.